
Creating a Gallery Wall with Digital Art: Tips and Tricks


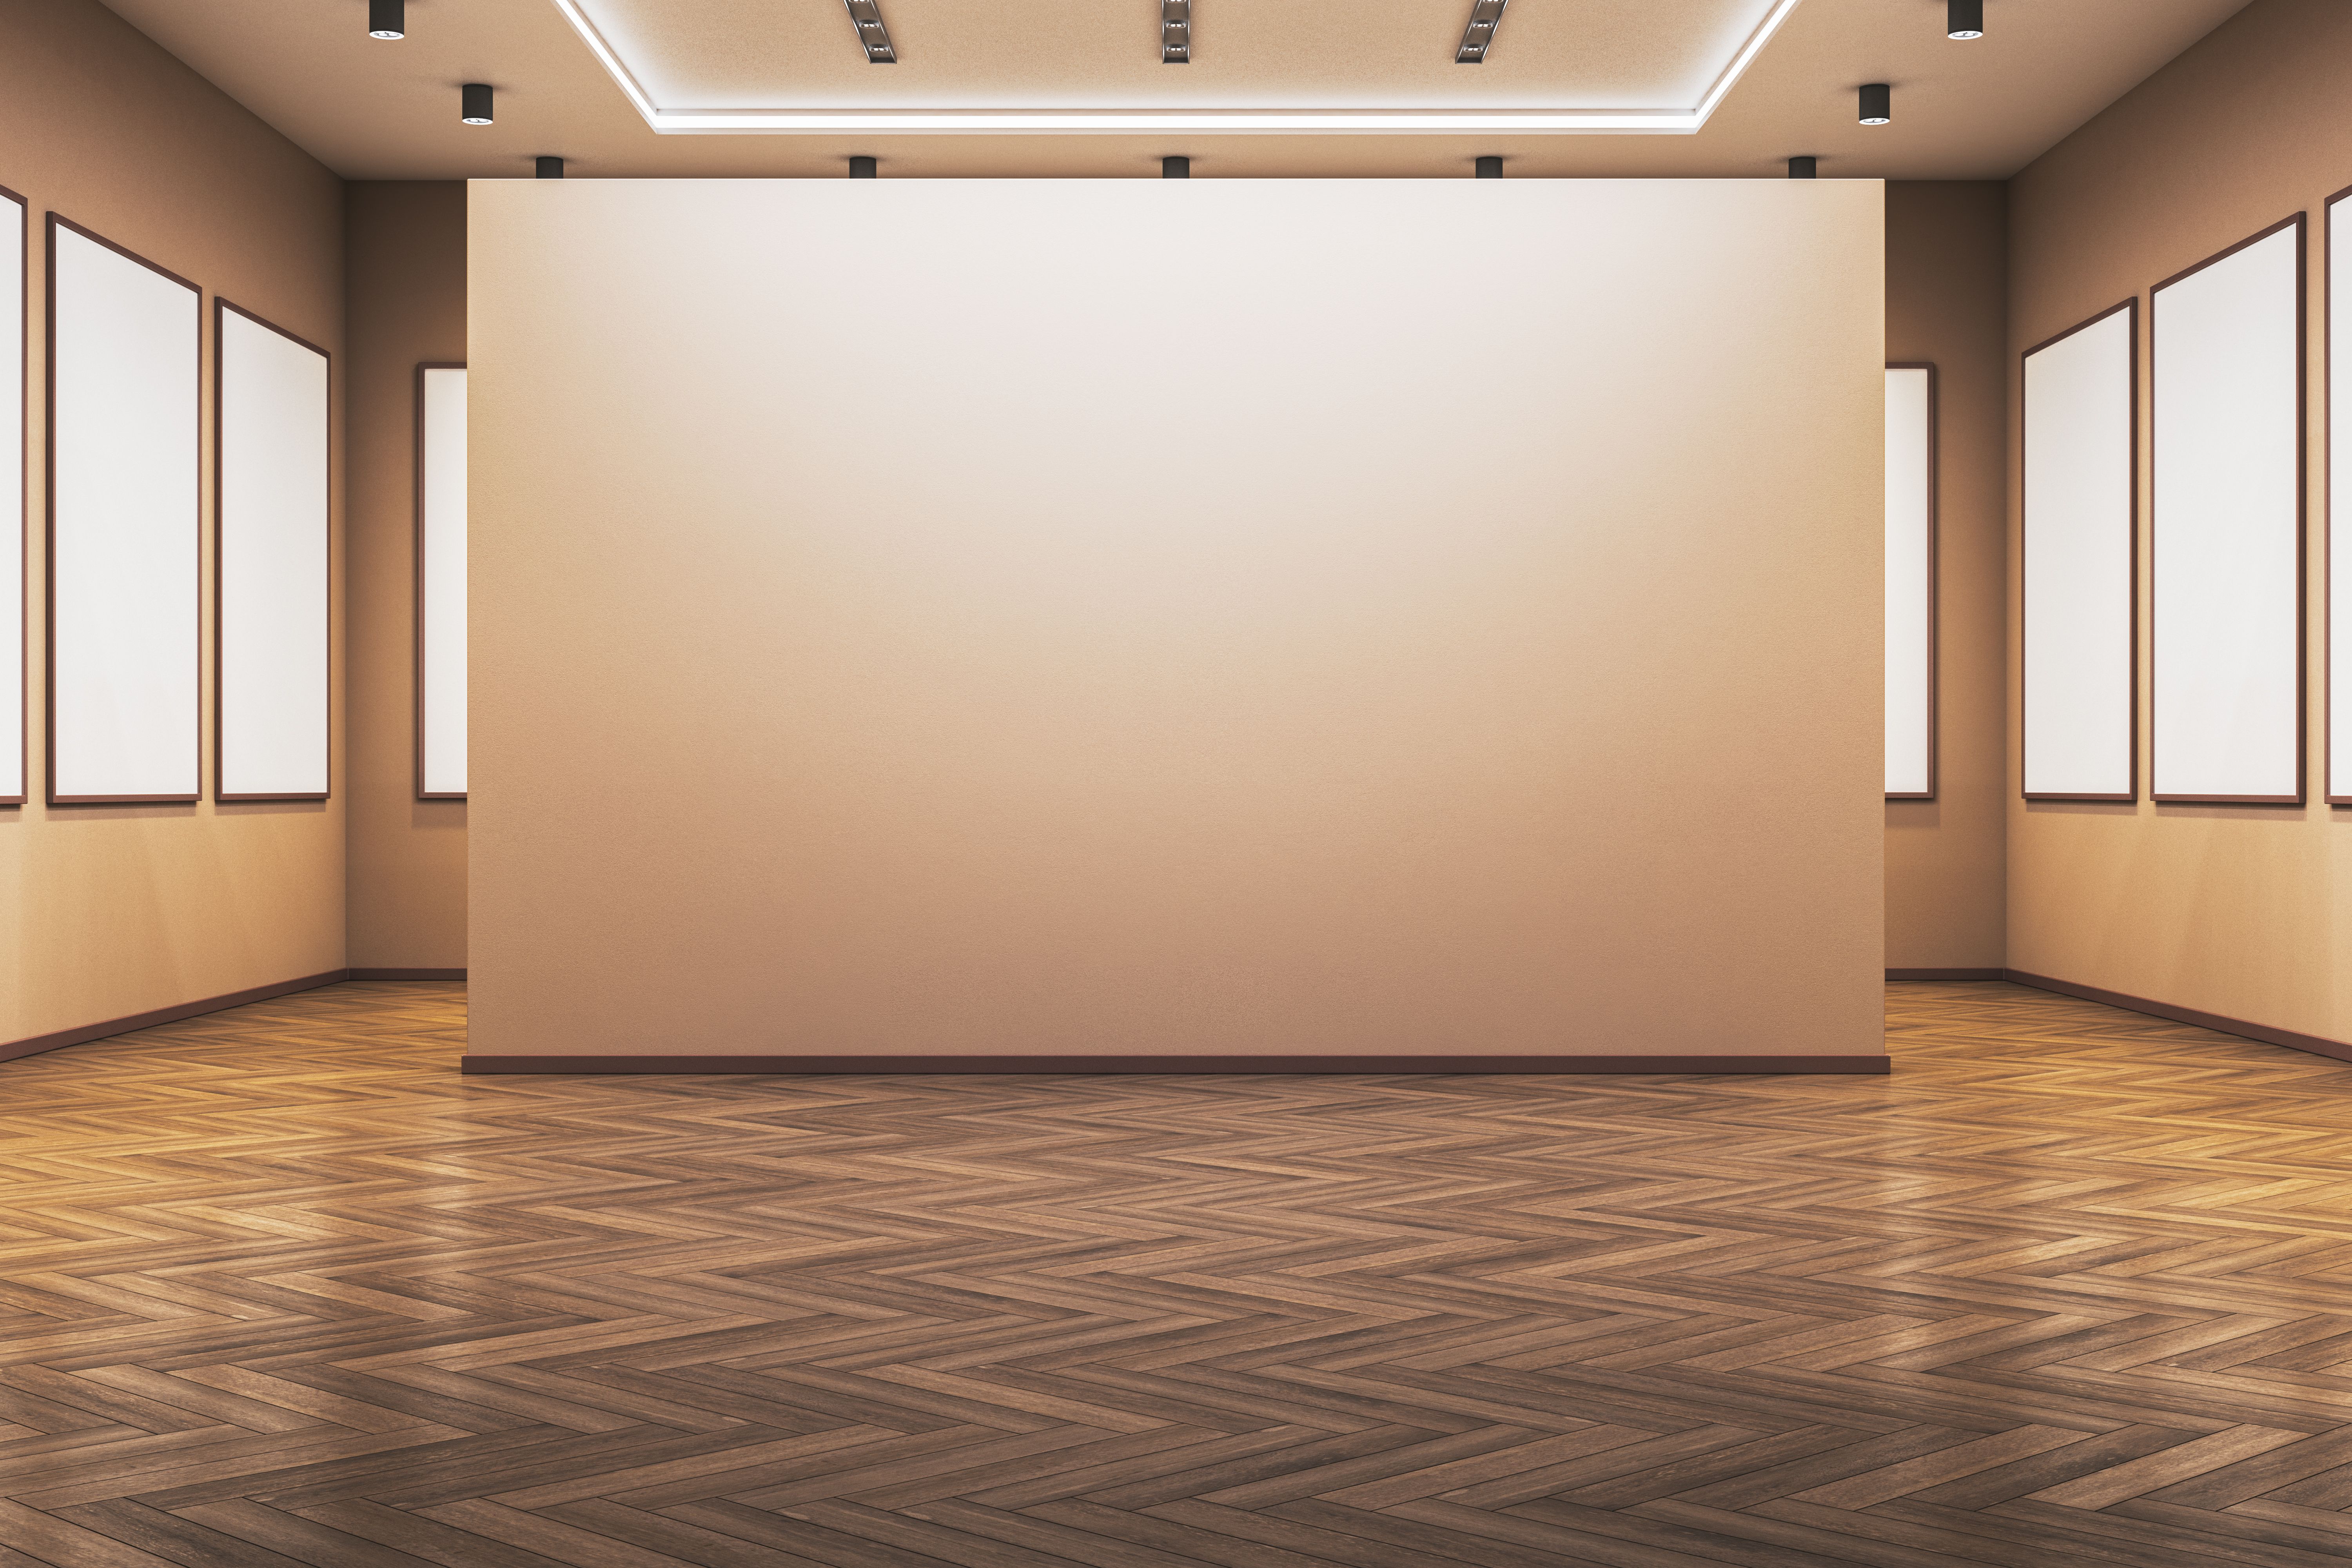
Getting Started with Your Gallery Wall
Creating a gallery wall with digital art is an exciting way to personalize your space. Whether you're looking to add a touch of modern elegance or showcase your favorite pieces, the process can be both fun and rewarding. The key is to plan and organize effectively to create a cohesive and visually appealing display.
Start by selecting a theme or color palette that resonates with you. This will help guide your choices and ensure that all pieces work harmoniously together. Consider the room's existing decor and choose complementary colors to create a seamless look.
Choosing the Right Art
Selecting the right digital art is crucial for a stunning gallery wall. Think about the mood you want to convey. Are you aiming for a calming, serene atmosphere, or something bold and energetic? Your selection should reflect your personal style and the ambiance you wish to create.
There are countless online platforms offering a wide variety of digital art. Explore different artists and styles to find pieces that speak to you. Mixing different sizes and orientations can add depth and interest to your wall.
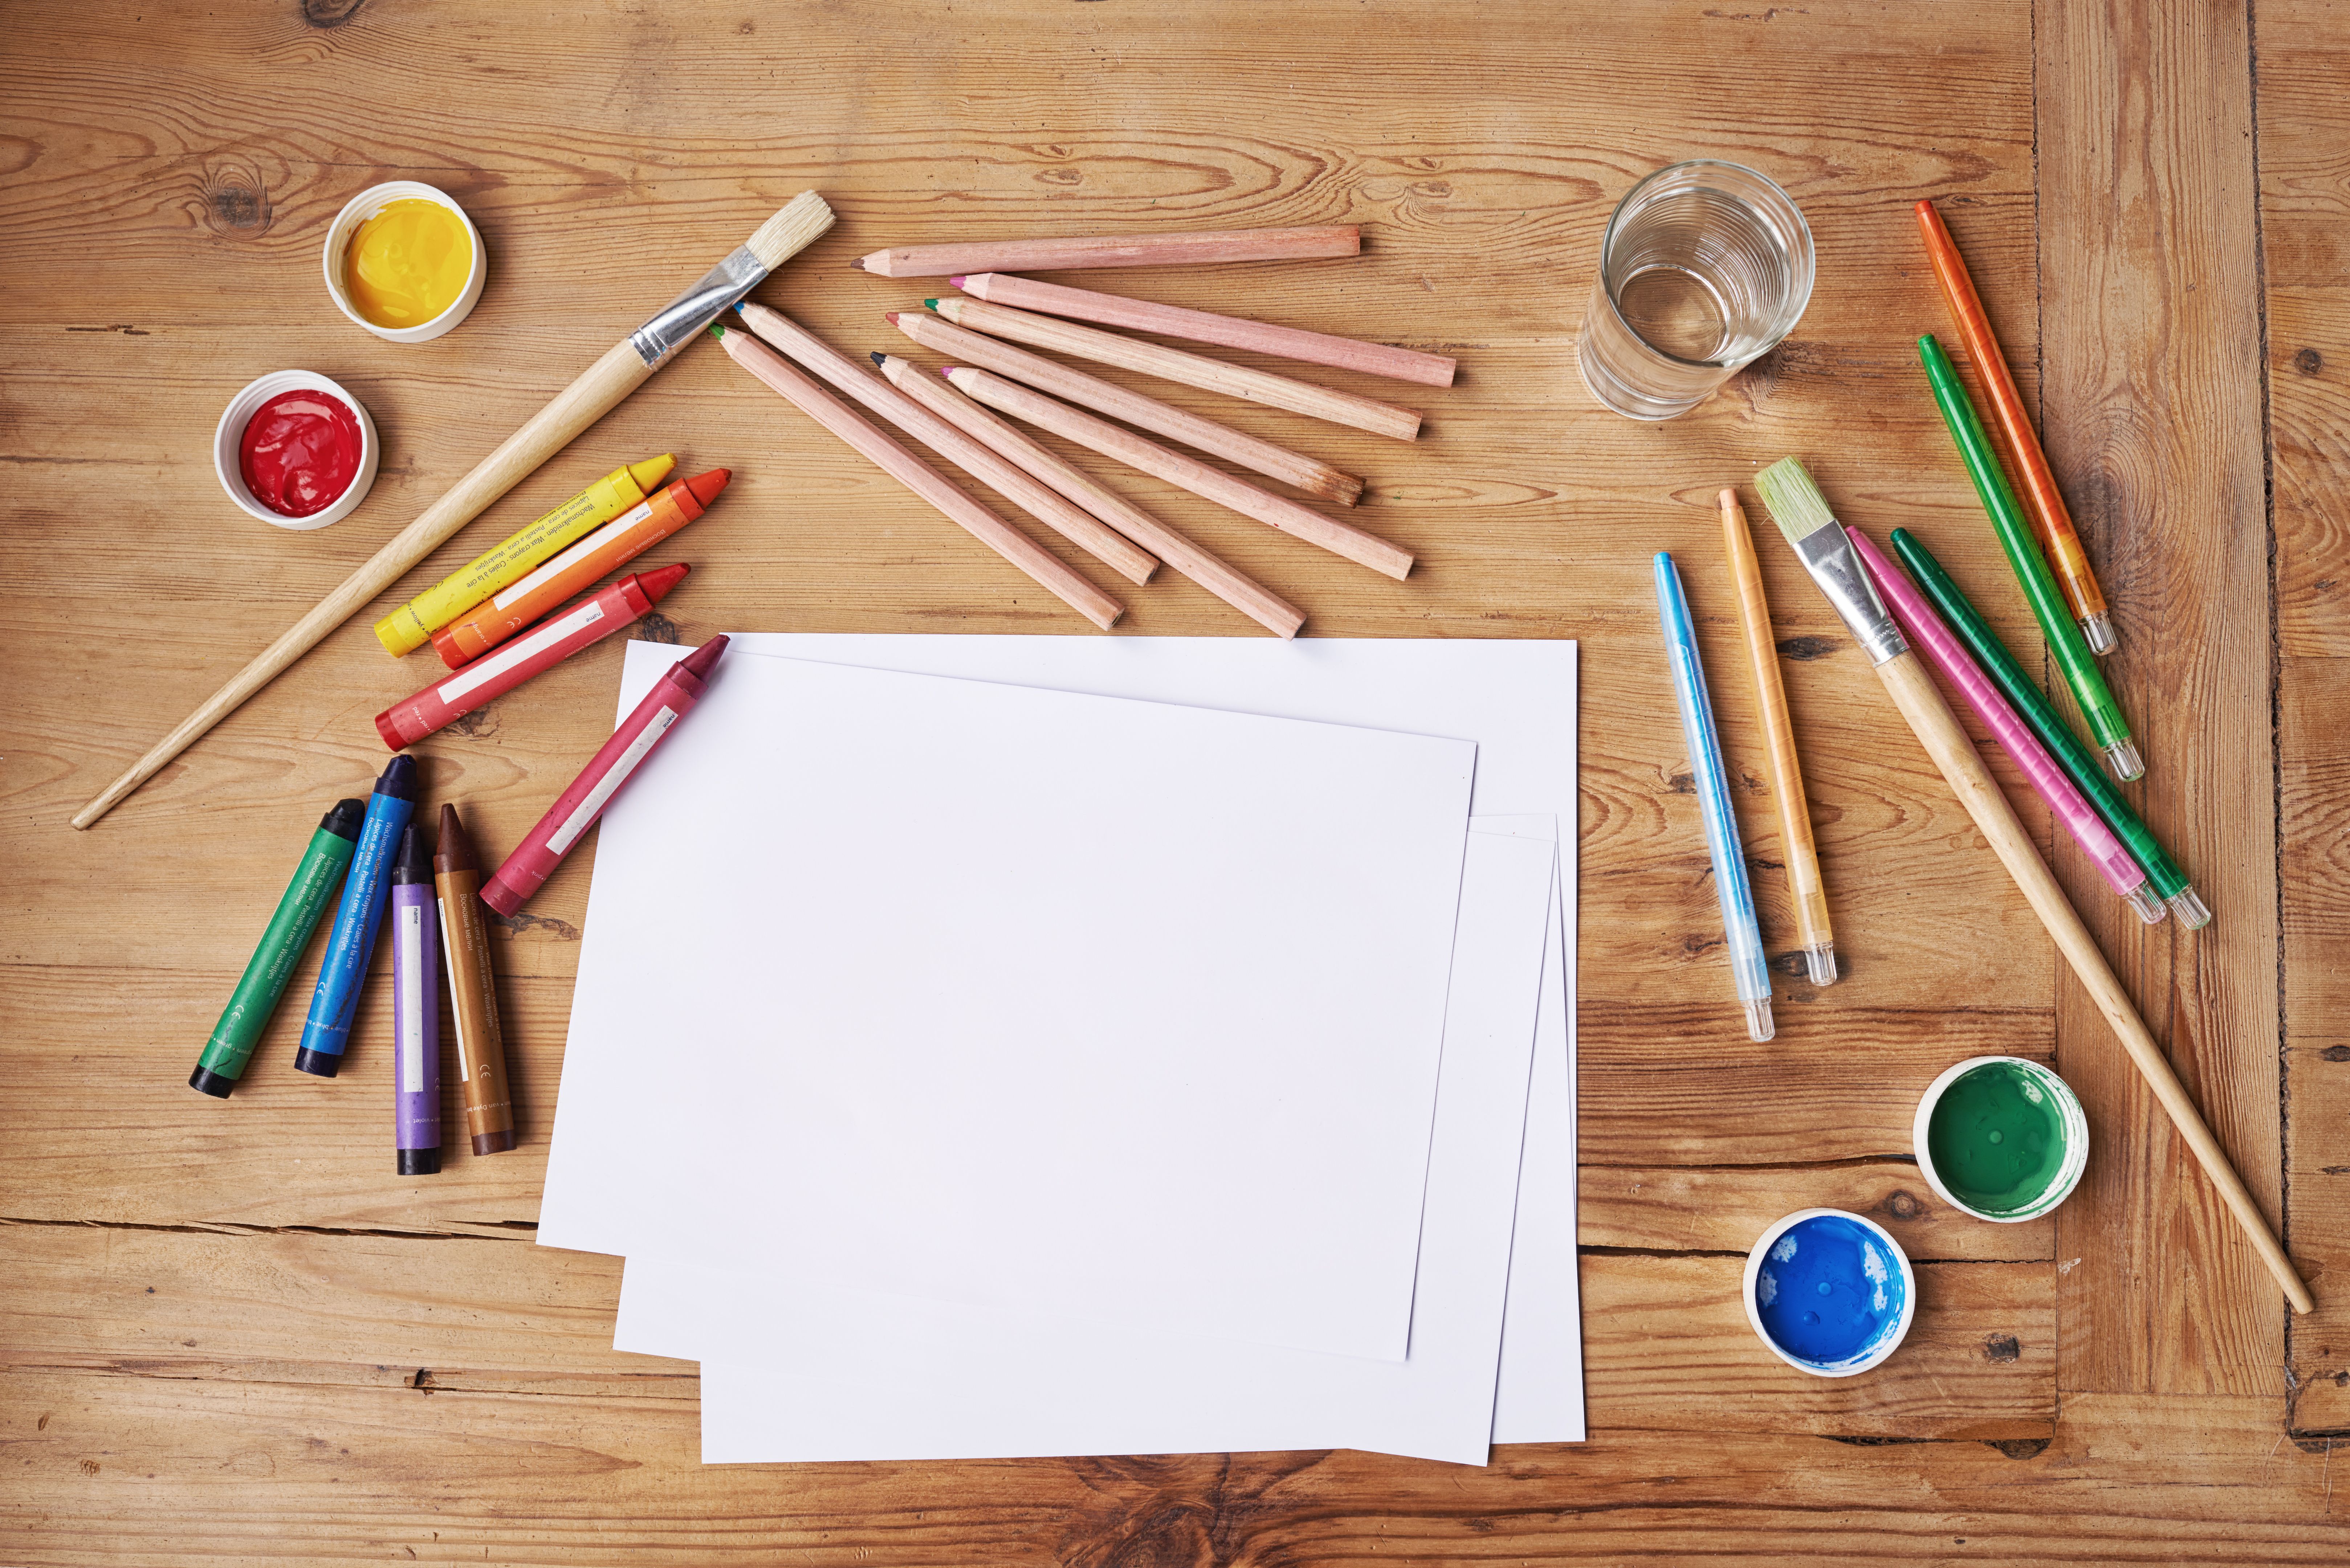
Planning the Layout
Once you've chosen your pieces, it's time to decide on a layout. There are several approaches you can take, from structured grids to more eclectic, asymmetrical designs. Lay your art on the floor to experiment with different arrangements before hanging them on the wall.
Consider the spacing between each piece. A uniform spacing can create a clean and organized look, while varied spacing can add a dynamic and creative touch. Use painter’s tape to mark out the layout on the wall, giving you a visual guide before committing to nails or hooks.
Using Frames Effectively
Frames can significantly impact the overall aesthetic of your gallery wall. Choose frames that complement the art and the room's decor. Mixing different frame styles can create an eclectic look, while uniform frames offer a more cohesive appearance.
Hanging Your Art
Now that you have your layout planned, it’s time to hang your art. Start with the central piece and work your way outwards. This helps maintain balance and ensures that the focal point is correctly positioned.
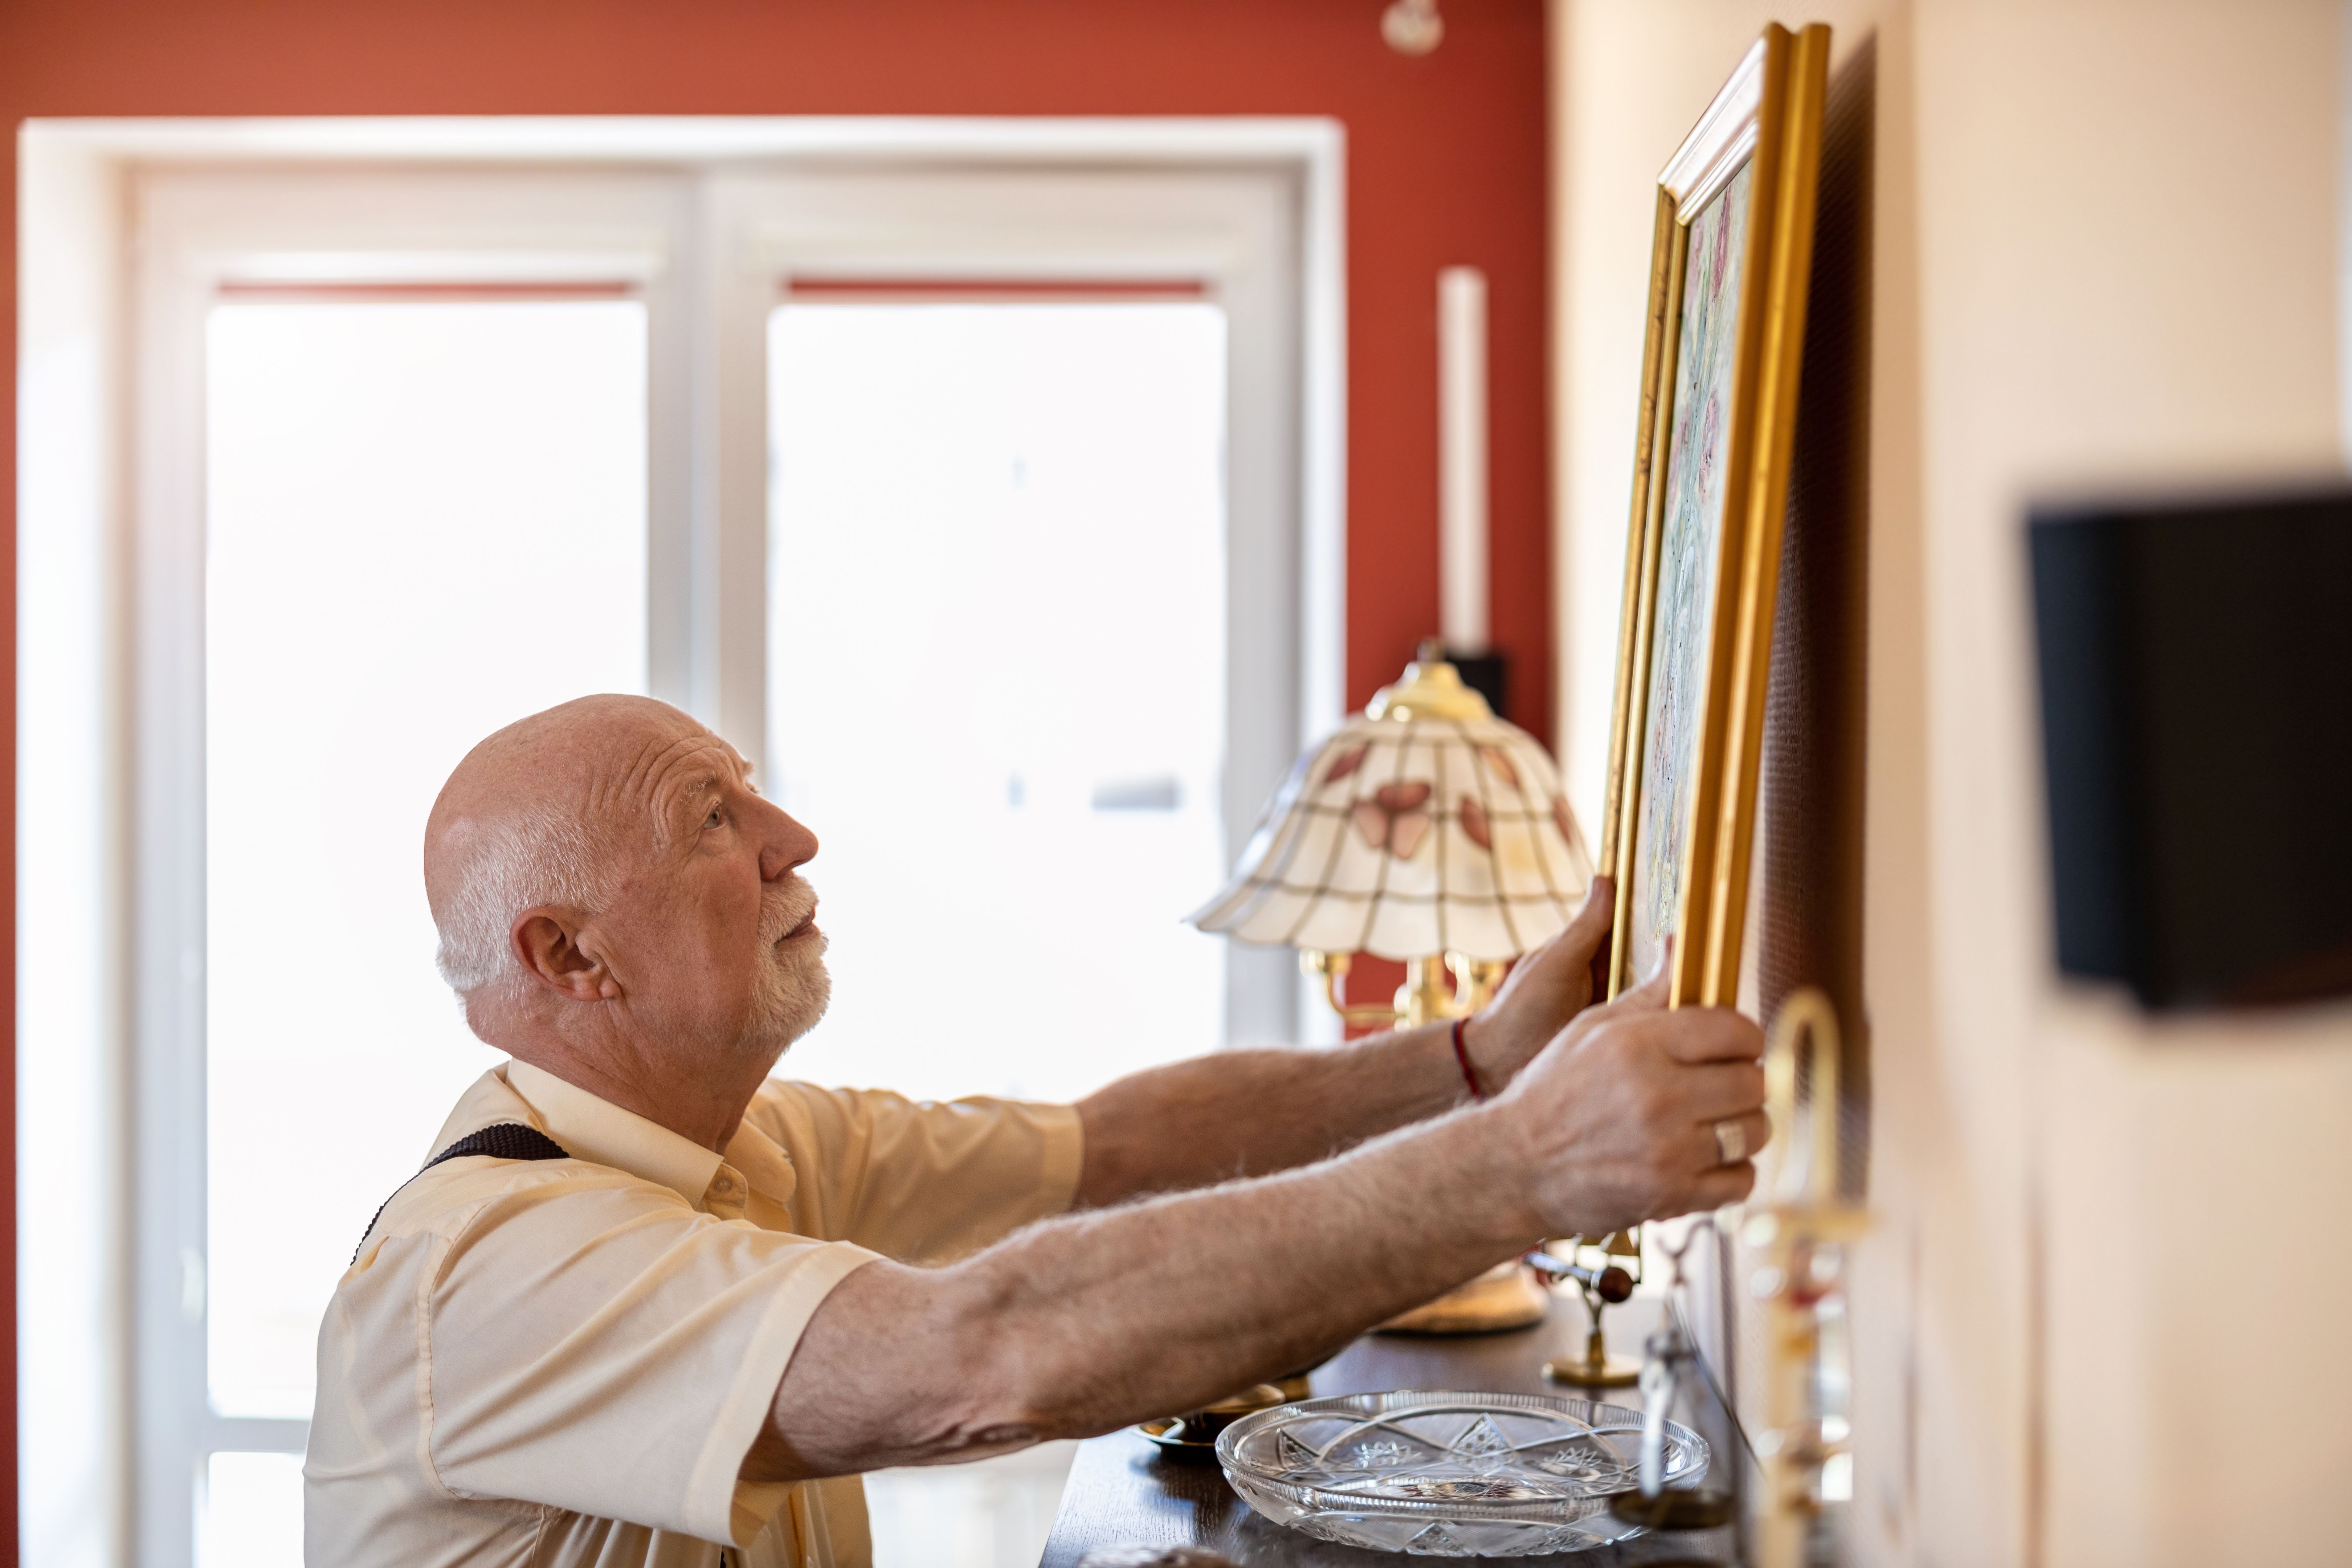
Use a level to make sure each piece is straight, and consider using picture hanging strips for easy adjustments. If you're worried about damaging the walls, these strips can also be a great alternative to nails.
Adding Personal Touches
Personalizing your gallery wall with unique touches can make it even more special. Consider adding small decorative elements like wall decals, clocks, or mirrors. These can enhance the overall composition and make the wall truly your own.
Don't be afraid to update your gallery wall over time. Swap out pieces or rearrange them to keep the display fresh and reflective of your evolving taste.
Enjoying Your Creation
Once your gallery wall is complete, take a moment to enjoy the space you've created. It's a reflection of your style and creativity, and it adds a unique charm to your home. Share your masterpiece with friends and family, and be proud of the artistic statement you've made.
Remember, a gallery wall is a dynamic installation. Feel free to change and adapt it as your collection grows or as new inspirations arise. Happy decorating!